Break
A break divides a document by breaking the continuous formatting. Breaks are of types –
| Break Type | Utility |
| Page Break | For inserting a new page |
| Column Break | For multiple columns in a page |
| Text wrapping | For breaking text to next line to not wrap text around graphics. |
| Section Break | For different formatting to different page or parts of a page. |
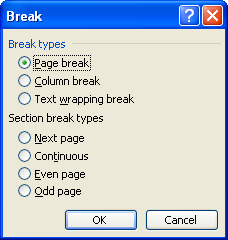
Break dialog box
Page Break
There are two types of page breaks soft and hard page break.
Soft Page Break-
Word inserts soft page break automatically and starts a new page as user keeps on typing text. It automatically readjusts the placement of the soft break.
Hard Page Break-
To force a new page to begin at a specified location, we need to manually insert a page break. Page breaks appear as a dotted line across the width of the page. Hard page breaks are distinguished by the words “Page Break” centered in the line if the document is viewed in “Outline” view. Hard page break is given by selecting Insert menu and clicking on Break option to obtain break dialog box and then selecting page break and click on Ok.
Section Break
A section break divides a document into sections so that they can be formatted differently. The section break identifies the end of a section and stores the format settings. Such as margins and page layout, associated with that section of the document. The section break mark is a double dotted line that contains the words “Section Break” followed by the type of section break
There are three types of break we can insert: New Page, Continuous, and Odd or Even page. The different types control the location where text following the section break begins
| Option | Action |
| New Page | Starts the new section on the next page |
| Continuous | Starts the new section on the same page |
| Odd or Even | Starts new section on the next Odd or Even numbered page |
Word automatically inserts a section break if we change the formatting such as inserting columns or centering selected text vertically on a page. We can manually enter section breaks using Insert Break.
It consists of note reference mark, which is a superscript number appearing in the document at the end of the material being referenced. The note text for a footnote appears at the bottom of the page on which the reference mark appears. The footnote is separated from the document text by a horizontal line called the note separator.
Text Wrapping Break
It is used to wrap text around pictures inserted in the document. It breaks a row of wrapped text to next line.
Column Break
Insert a column break when you want to force the end of a column and the beginning of another. You may have noticed that some of the columns aren’t quite as balanced in a document as you would like. One way to fix this problem is to add a column break. A column break will force the end of the column and move that text to the beginning of a new column.
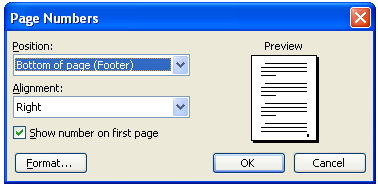
Page Numbers
Page Numbers can be easily inserted in the header or footer of the document, then following steps should be followed
- Select the Insert menu
- Choose the Page Numbers option
- Select the position for page number (In header or footer area) with requisite alignment.
The following dialog box appears when you follow the above steps. Click on the Show number on first page to turn off the display of page number on the first page of your document. The Format… option at the extreme left bottom of the dialog box is to change the appearance of the page number.
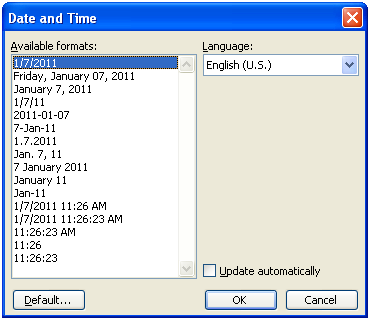
Date and Time
Word facilitates the user to insert the current date and time within document. This can be done by selecting the Insert menu and choosing the Date and Time option. Choose an appropriate format of date and time from the list and click Ok. Click on the Update automatically check box, so that each time you open the document, date and time is seen updated in compliance with system current date settings. The date and time command on the Insert Menu inserts the current date as maintained by our computer system into our document at the location of the inserting point. The available formats list displays the format styles for the current date and time. We want to display the date in the format Month XX, 19XX. This format is the third setting in the list.
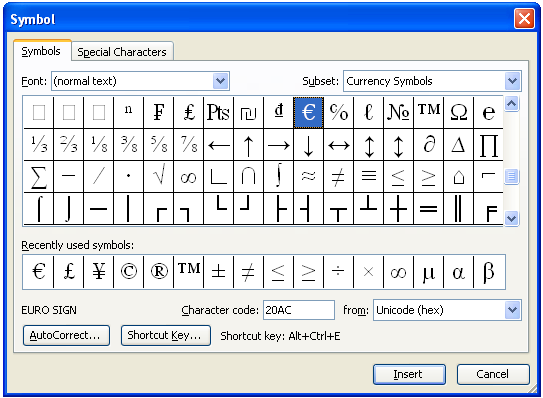
Symbols
Word allows the user to insert any special character in the document that is not available on the keyboard. This feature enables us to use an array of such special characters that are made available through this option. In order to insert a special character, place the cursor at the position where a symbol is to be inserted. Now choose the option Symbol from the Insert menu bar. The Symbol dialog box will appear and hence choose the required symbol from the list. One can also change the font face to get different symbols. Also shortcut can be assigned for this by clicking at the Shortcut Key button given at the bottom of the dialog box.
Picture & Shapes
We can add borders to drawing objects (including text boxes and AutoShapes) or to pictures, and enhance our drawing objects by adding a gradient (shaded), patterned, textured, or picture fill.
A graphic is a non-text element or object, such as a drawing or picture, which can be added to a document. An object is an item can be resized, moved and manipulated. A graphic can be a simple drawing object consisting of shapes such as lines and boxes that can be created using features on the Drawing toolbar. A drawing object is part of our Word document. A picture is an illustration such as a scanned photograph. Pictures are graphics that were created from another program and are inserted in our word document as embedded objects. An embedded object becomes part of the Word document and can be opened and edited using source program, the program in which it was created.
Many simple drawings called clip art available in the Clipart gallery that comes with Office 2003. We can also create graphics files using a scanner to convert any printed document, including photographs, to an electronic format. Most images that are scanned and inserted into documents are stored as windows bitmap files (.bmp). All types of graphics, including clip art, photographs, and other types of images can be found on the Internet. These files are commonly stored as .jpg or .pcx files
A graphic object can be manipulated in many ways. We can change its size add captions, borders or shading or move it to another location. A graphic object can be moved anywhere on the page including in margins or on top of below other objects, including text. The only places we cannot place a graphic object are into a footnote, endnote or caption.
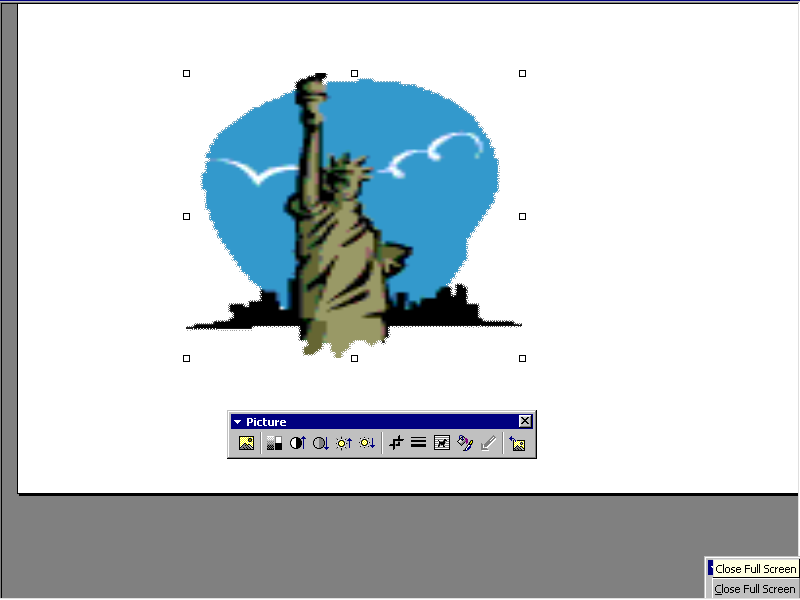
When a picture is inserted, its size has to be adjusted. The picture is surrounded by a selection rectangle and eight boxes, called sizing handles, indicating if it is a selected object and can now be sized and moved anywhere in the document. The handles are used to size the object much as we would size a window. Dragging it to the new location moves a graphic object. The picture toolbar buttons are used to modify the selected picture object. Our picture toolbar may be floating or docked along an edge of the window, depending on where it was when last used.
Clip Art
Word has this feature which helps the user to insert any readymade images from the Clip Art gallery. This can be done in the following way
- Select Insert menu from the Standard Toolbar
- Choose Picture option
- Click on Clip Art in the drop-down list
- Select Organize clips from task pane
- Double click on office collections
- Select the category of whose image you wish to insert like (academic, business etc)
- In the end click any picture from the given category displayed on the dialog box.
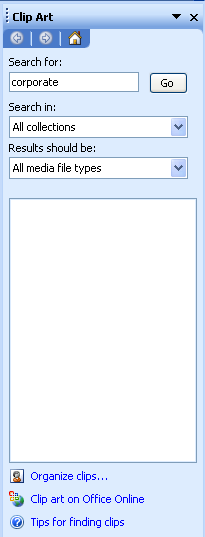
Clipart task pane
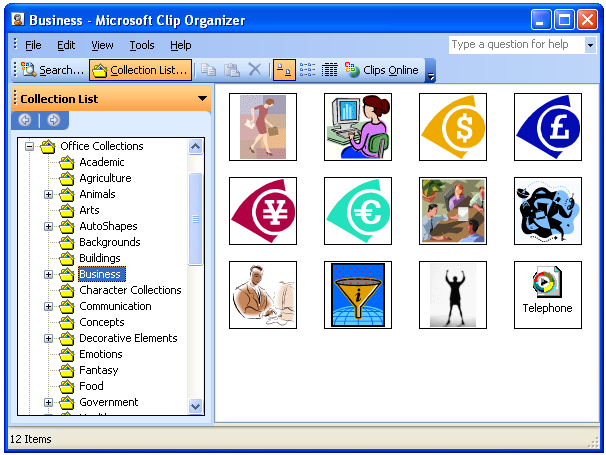
Clip art organizer
AutoShapes
Word provides the feature of AutoShapes available under the Picture option of the Insert menu. AutoShapes enables the user to draw any predefined figure with a free-hand using appropriate tools. Basically, it is intended to create a blueprint of the Flow Chart before preparing a program. This option is also available on the Drawing toolbar.
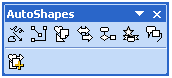
Auto-shapes toolbar
WordArt
Word provides the feature of WordArt available under Picture option of the Insert menu. WordArt gallery dialog box will appear on your screen, select a WordArt style from the gallery and click Ok to incorporate the style. Subsequently a small window will pop-up having default text “Your text here”, write the desired texts overwriting the previous matter and click Ok to apply the text style selected within document as an object. The text can be resized and you can even change the appearance by selecting WordArt feature again. This feature is also available on the Drawing toolbar. The following dialog box appears when you apply the WordArt feature.
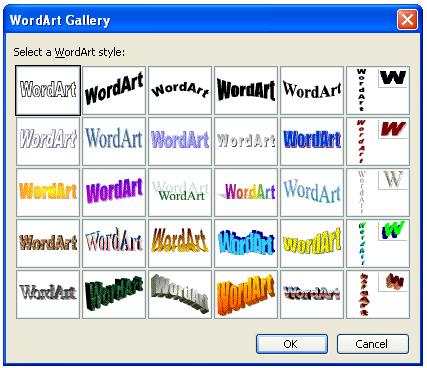
Word art dialog box
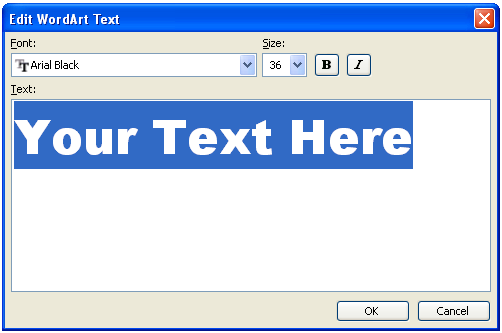
Text input for word art
Image File
To insert external image files present in the computer into the document this option is used. In insert menu selecting picture option then clicking from file option opens file open dialog box to select the image file.
Organization chart
To create and insert custom organization chart to show hierarchy this option is used by opening insert menu, selecting picture option then clicking organization chart option opens toolbar and a sample chart to customize.

Toolbar
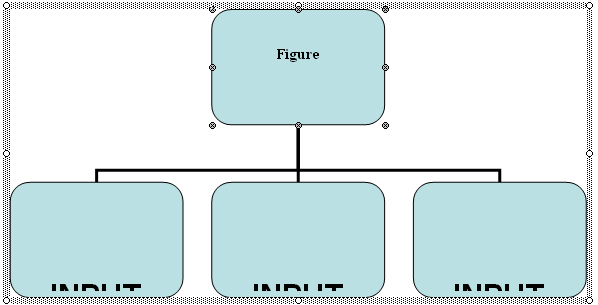
Sample chart
