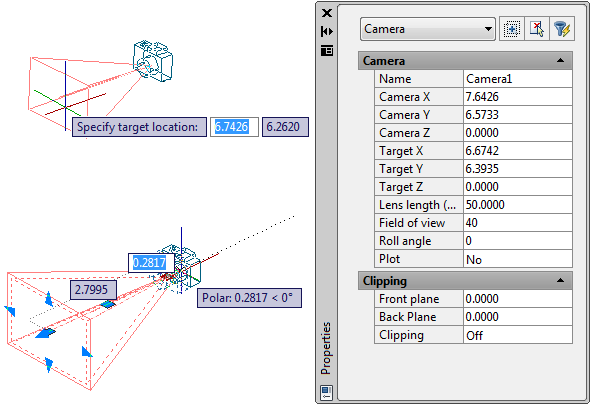
You can place a camera in a drawing to define a 3D view. You can turn a camera on or off in a drawing and use grips to edit a camera’s location, target, or lens length. A camera is defined by a location XYZ coordinate, a target XYZ coordinate, and a field of view/lens length, which determines the magnification, or zoom factor. You can also define clipping planes, which establish front and back boundaries for the associated view.
- Defines the point from which you are viewing a 3D model.
- Defines the point you are viewing by specifying the coordinate at the center of the view.
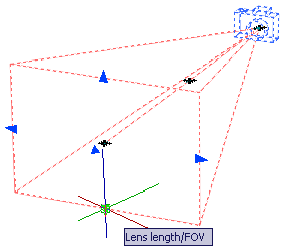
- Lens length. Defines the magnification properties of a camera’s lens. The greater the lens length, the narrower the field of view.
- Front and back clipping planes. Specifies the location of clipping planes. Clipping planes are boundaries that define, or clip, a view. In the camera’s view, everything between the camera and the front clipping plane is hidden. Likewise, everything between the back clipping plane and the target is hidden.
By default, saved cameras are given names such as Camera1, Camera2, and so on. You can rename a camera to better describe its view. The View Manager lists existing cameras in a drawing as well as other named views.
Create a Camera
Set a camera and target location to create and save 3D perspective views of objects. You can create a new camera by defining its location and a target, and by further defining its name, height, lens length, and clipping planes. You can also use one of several pre-defined camera types that are available on the tool palette.
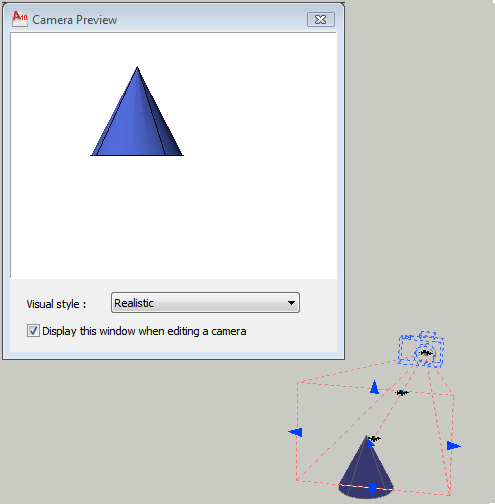
Change Camera Properties
You can modify a camera’s lens length, change its front and back clipping planes, name a camera, and turn the display of all cameras on or off in a drawing. When you select a camera, the Camera Preview dialog box opens to display the camera’s view.

There are several ways to change camera settings:
Click and drag grips to resize or relocate a lens length or field of view.

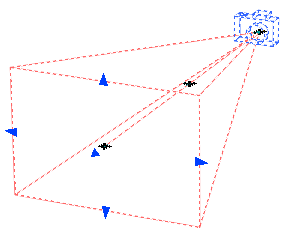
Use the Dynamic Input tooltip to enter X,Y, Z coordinate values.

Modify camera properties in the Camera Properties palette.